Hello there crafty friends!
Here's what I've been working on the last few nights. A while back I saw this somewhere online. I wish I could give credit but I wander about the interwebs for a good while every morning with my coffee, getting ready for the day. :D
Aren't those little polaroid accents insanely adorable? I think they might be American Crafts; it looks like their color schemes and patterns. For me, being on a very tight budget, I just made my own.
I have a package of chipboard in my stash, purchased at Hobby Lobby. I cut one sheet into a few 4x3 pieces, and then cut cardstock to mount on top, as well as what would be the white/neutral color where the photo would go on a Polaroid. I pretty much followed the color scheme from the photo above because I knew it would match my beach photos that I wanted to work on.
I cut the colored cardstock just a smidge too large so that I could sand it down and it would look much more cohesive.
And after sanding all the edges I inked them, too. This is CTMH Juniper, which happens to perfectly match my cardstock (which isn't CTMH but Bazzill, I believe).
Here are my three "Polaroid" chipboard pieces once they were finished up and ready to put on my LO. I added some bling once they were placed on the LO, pictured later. Add some PP here and there, add a picture and some stickers, add a banner. I wish I had added some twine, now that I look at them here...I just might go back and do that.
Be sure to mount some embellies on pop-dots for added dimension.
Here's the finished two-pager. The left-sided PP, stickers, and accents are from an Echo Park set of paper (last year's summer paper), the title was a Cricut cut, from the H2O cartridge. Bling from stash.
Left-sided page. Title is on an SU!/Sizzix die cut (Big Shot).
Right-sided page. Sorry for the glare and shadows. I can't get my good camera (the "real" camera) to cooperate anymore. My poor Canon Rebel has officially gone to camera heaven :( and these photos are with my son's point-and-shoot, a Canon Powershot or something like that. It's not the best camera but I digress...
So that was that for those two-pages... Oh, the left side PP is CTMH.
From there, I decided to try to finish the set of PP and photos from that trip to Port Aransas last summer. This picture, though not the best, is the only one I got of my parents, my sister, my son and his best friend. They are all totally calm and enjoying life- how I love this photo. PP is still Echo Park. I cut "life" from Graphically Speaking and "enjoy" from.... I can't remember! Twine and buttons are CTMH. Pinwheel is Little Yellow Bicycle. Washi tape (under the title, by the buttons) from unknown source.
Ok so for the next two-pager I wanted clouds. I have a thing for clouds; I'd love to add them to every.single.page that I put out. LOL. I stamped some and did fussy cutting; a few others I cut with Cricut's Create a Critter and Graphically Speaking.
After stamping and cutting I ran a few through embossing folders: Cuttlebug's Swiss Dots and Darice's Wave folder.
Here's another set of CTMH stamped ones that I ran through the embossing folders. The stamp and the embossing kind of contradict each other. I'm not sure I like that too much but I kept it anyway.
A couple of the clouds still looked too plain so I misted them with Glimmer Mist, one of the chalkboard mists.
(As a side note, when I did this misting I managed to paint my entire hand, after which I needed to take Nick to get his new eyeglasses. I hadn't washed my hands. As we sat waiting I looked down and realized I was turning into a Smurf, a fact which amused Nick to no end). O.o
Aaannnyyywaaaaaay..... :D The sun I cut out with the Cricut also, from the Graphically Speaking cartridge, and ran that through the same Swiss Dots folder.
Here is the completed LO. I believe if you click on it, it will enlarge. Blogger is not agreeing with me right now...
Left-sided page. The "heart summer" and other stamped banners come from a Technique Tuesday/Ali Edwards set. The title is cut from the Create a Critter cartridge's font. I wrote "hello" on the title block myself.
After looking at the above photo I decided I didn't like how uniform the clouds looked so I changed the placement:
I think I might have over-done it on the clouds altogether, but ah well. It's done.
Finally, to finish up the set of patterned paper, I found these photos of my son and his best friend hanging out in a regular backyard pool. I knew I wanted the main photo on a white mat but it was just so stark. So I inked the edges with some CTMH sky blue. I *love* that shade of blue. It's so soft and pretty without looking like a boring pastel.
It still looked plain though:
So I got out a CTMH background stamp:
Guess I wound up making my own patterned paper. I like it MUCH better this way. I still get the white I wanted but it's not so stark and boring.
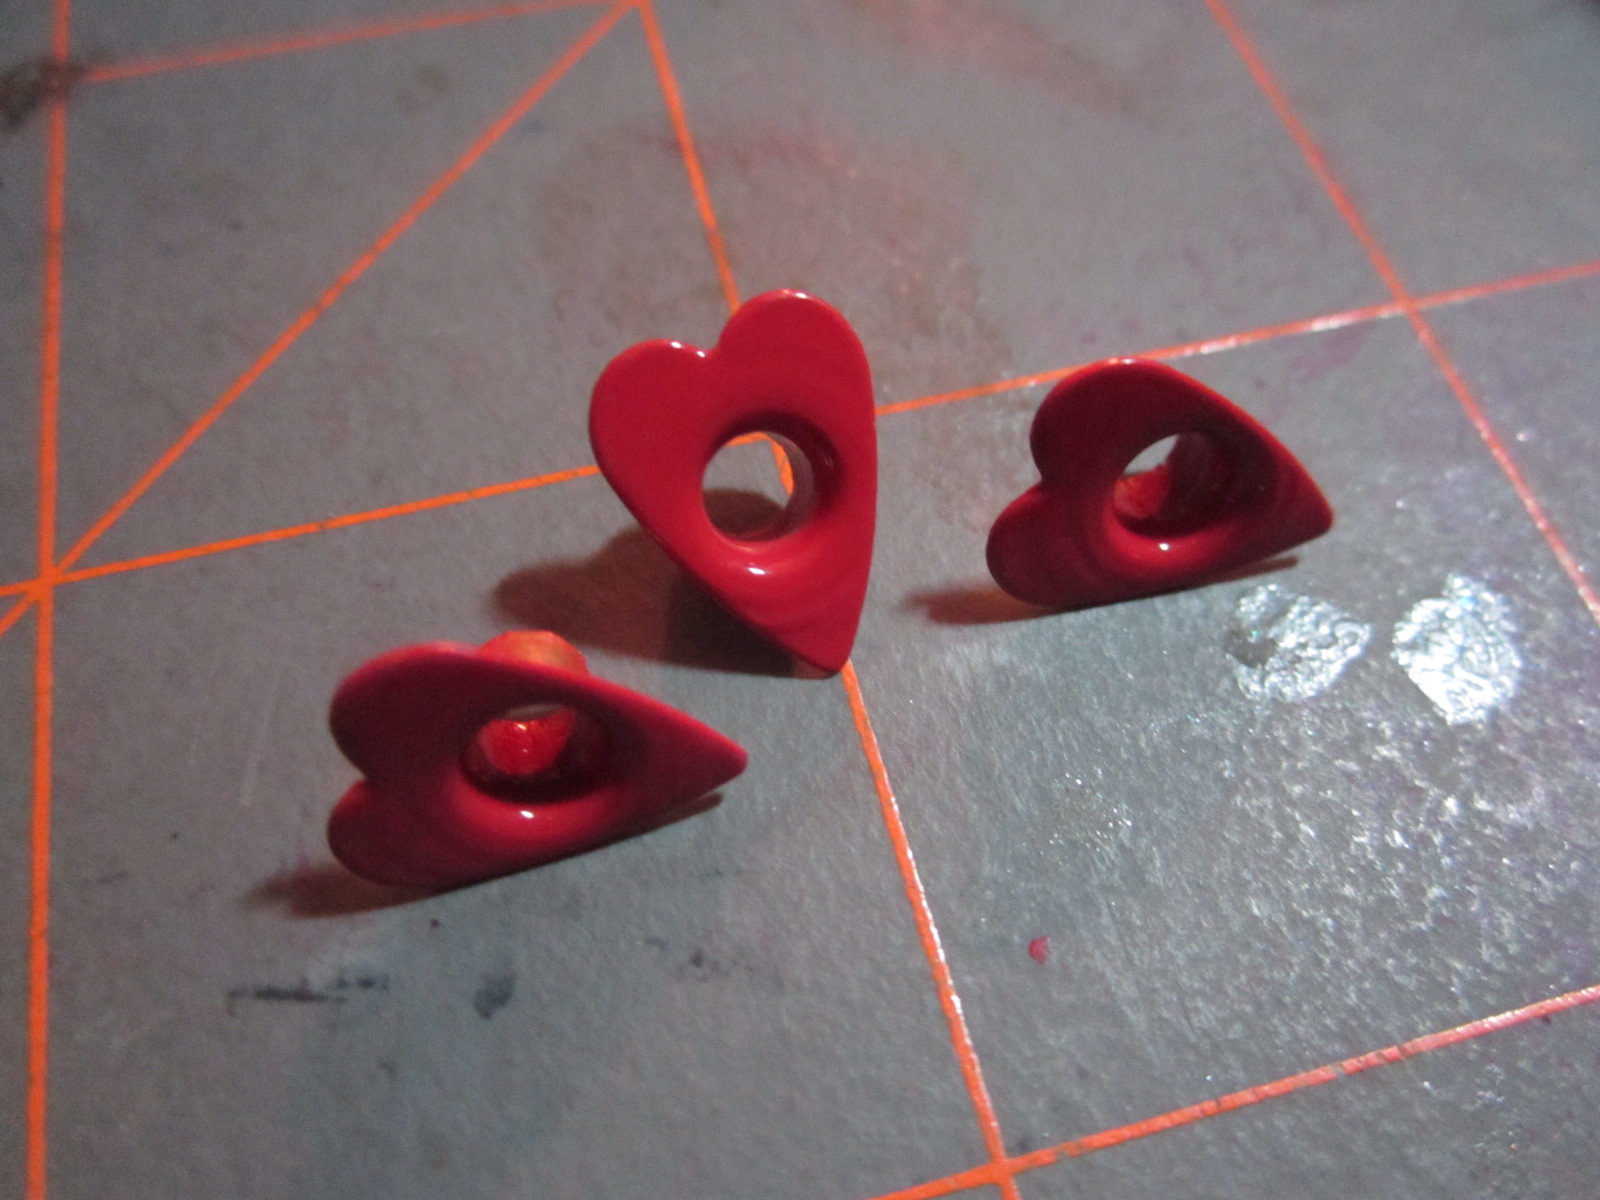
Anybody remember this? Eyelets and the "must-have" Crop-A-Dile.
I was searching for something in storage earlier this week and stumbled upon these eyelets. Back in the day I *had* to have every shape, size, and color and now there they sit, in a box. I thought it might feel like a cruel injustice to the eyelets so I brought 'em home and have started to put them to use. What's funny is that my friend
Missus Wookie mentioned eyelets in a blog post earlier this week too. I tell you, they were all the rage quite a while back and after I had them all (just about, LOL) I stopped using them. So dumb. But anyway, I particularly liked these little hearts for the current LO.
I cut out the little kid and his floatie from the Cricut H2O cartridge. All paper, stickers, and accents are Echo Park. "Pool" is on pop dots, and after snapping this picture that red area is where I journaled. I did also stamp behind that red journaling spot; it's just extra light with that pretty CTMH Sky Blue ink.
Hello, Diving Kid. :) Do you see the heart eyelet?
And a couple more eyelets.... :D
That's what I have for now. I made a few cards some nights ago when I couldn't sleep, but I'll post those another time. Thanks for stopping by and leaving love!


