I recently got CTMH's Timberline Workshop on the Go. It has a great
stamp set and I think it's perfect for our bike-riding pictures. My sister
has taken my kiddo up to Enchanted Rock a couple of times and I'd like
to go myself, go for a nice hike and enjoy nature. Of course, I don't want
to go on that little day trip just because I have this paper... it's just an added
bonus that I already have the layouts completed for any pictures I might take!
So-- about the ink. The Timberline WOTG stamp set has a couple of
images that are larger. I stamped them with dye ink... and didn't like
the outcome. I have some of the CTMH pigment ink and thought
why not give this a whirl. The results are interesting!
images that are larger. I stamped them with dye ink... and didn't like
the outcome. I have some of the CTMH pigment ink and thought
why not give this a whirl. The results are interesting!

Above, Goldrush dye ink. Below, Goldrush pigment ink.
See how the negative space is properly stamped
without looking grainy or washed out?

This is the stamp AFTER I stamped it. See how the letters are full of ink?
I was sure this ink would have gone onto my paper but it did not! Note: To clean
this stamp properly you should spray your liquid cleaner directly onto the stamp
before running it across a scrubber. Baby wipes work well too-- just
make sure they're alcohol free as alcohol with cause the stamp to crack.
this stamp properly you should spray your liquid cleaner directly onto the stamp
before running it across a scrubber. Baby wipes work well too-- just
make sure they're alcohol free as alcohol with cause the stamp to crack.

Here's another example. Left side is pigment, right side is dye ink.
The clarity of the letters and lines along the border is pretty remarkable! You're
supposed to lay your paper on that foam insert that comes with your stamps,
which is what these two stamped images is resting on. But that didn't matter
when stamping with the dye ink, not for this stamp. The surface I stamped
on, the amount of pressure I applied, the amount of ink I had applied to the
stamp, nothing I did would make this stamp with perfect clarity... until I
got out the pigment ink and got it right on the first try.

CTMH sells the pigment inks in color families, of which there are four.
So for around $20 you get 10 of these little pigment inks in matching colors;
add the foam insert and plastic organizer for a bit more moolah and you're all set!
You can see that I only have two of the four sets. ;-)
You can see that I only have two of the four sets. ;-)
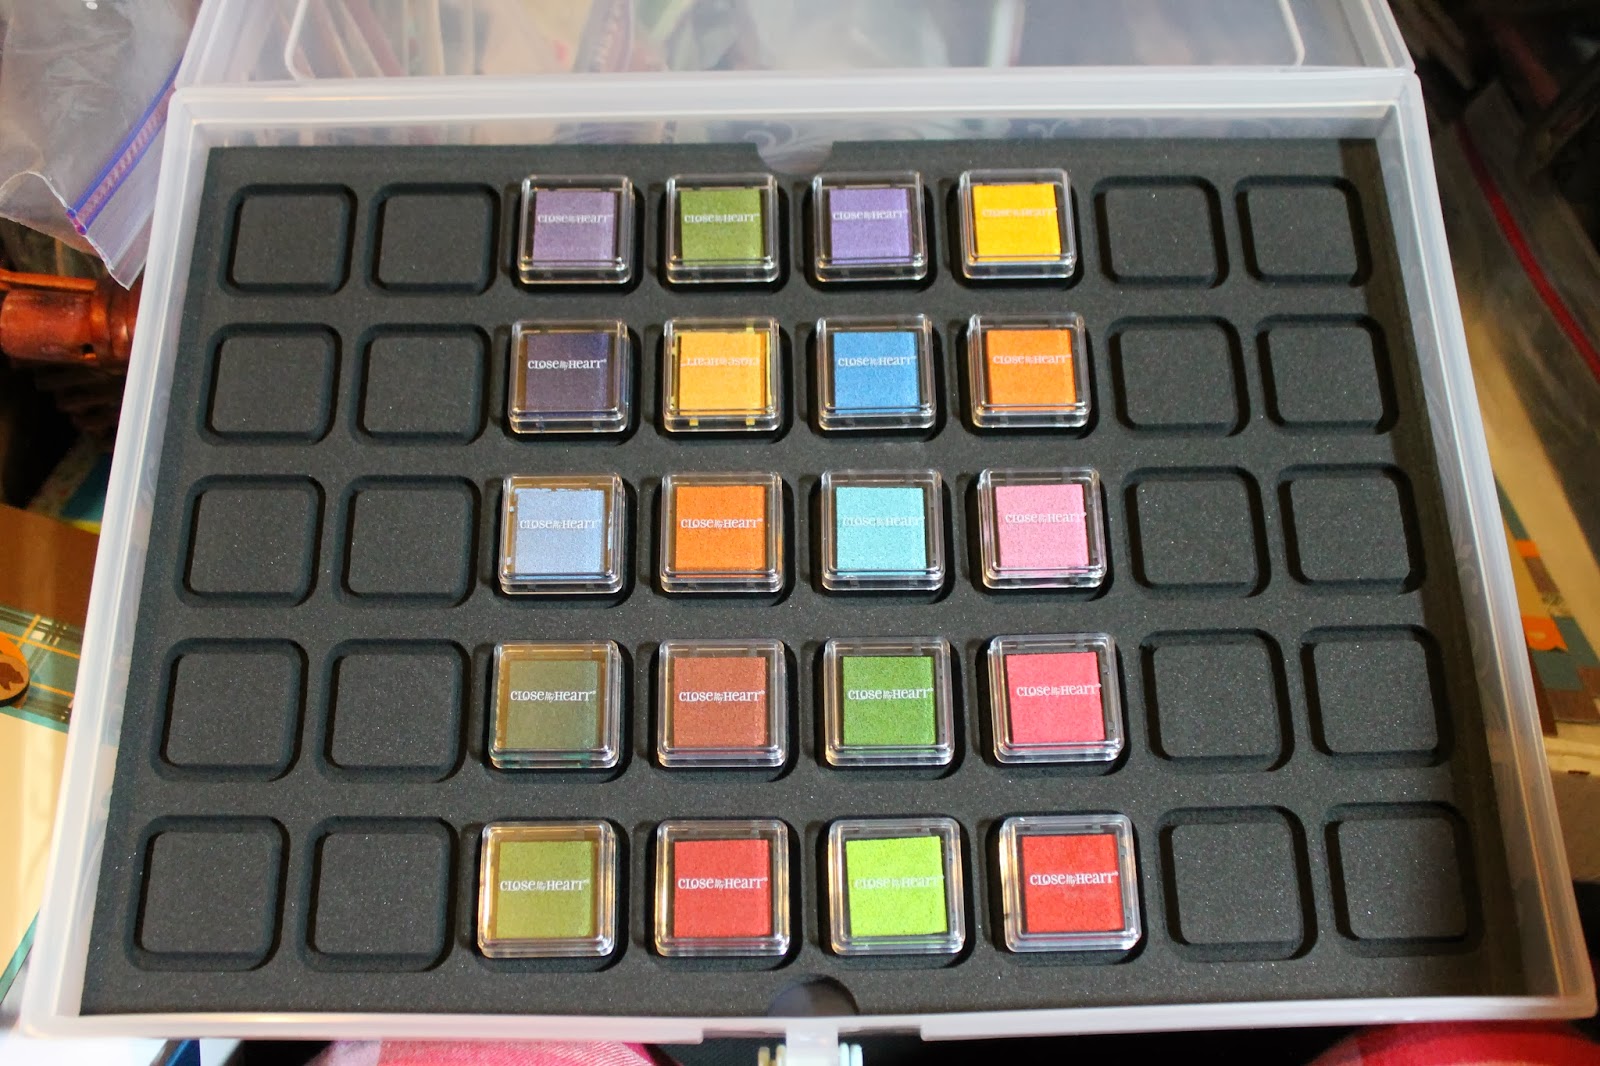
It's the smaller organizer that these fit into.

And the layouts I used those stamped images for are the following pictures.
On this next pic, though, you see my "making tracks" that's stamped with
pigment. The "you are here" is stamped with dye. These don't look
very different; I think it's because "you are here" is a smaller stamp with
not as much dead space that needs ink coverage.

Here is the full two-page layout.


And the other two-page layout (this is the one whose instructions are part
of the Workshop; the layout above was made with instructions found at CTMH.com):

"Explore Your World" is my title and this is where I first discovered how much
better the pigment ink worked. Now I just have to work on CENTERING
my images (onto the previously die-cut shape). :-)

That little Earth and the little people around it? Those are stamps included in
the set. Is that not adorable!!! I have card ideas with that little Earth stamp in mind...

The top right colonial white square with footprints is where
I will draw lines to add my journaling later.

So there you have it! Dye versus pigment ink with CTMH stamps. I
was also playing with some Technique Tuesday stamps, which are made
of different material than the CTMH sets, and the pigment was LOADS
better with those as well. Just remember, too, that when using pigment
ink your stamped image will take longer to dry. Don't just grab it, glue
it, and go because it will SMEAR! Let it dry for a little bit.
Trust me on this one. ;-)
Thanks for stopping by and leaving love! And stay tuned for some
masculine cards I'm going to make with the leftover
paper from this workshop set.
Blessings,
Martha
Inks definitely do matter. I remember showing someone at a crop all five black inks stamping the same image side by side. Some blacks are darker than others ;)
ReplyDelete