Sunday, May 3, 2015

Happy Nat’l Scrapbooking Day!

 
Hi there!  After a super long blogging absence, I'm baaaaaack!  :)
I've been scrapping and papercrafting all along, just haven't made the time to post.  I plan to work on that a bit harder here in the future! 
So I'll just drop off a few pages I made a month or so ago!
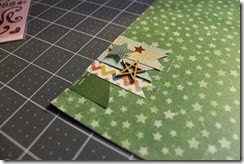
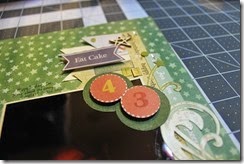
Up first, a super simple page of my brother’s birthday earlier this year.  Love him!
43IMG_1659IMG_1660
 
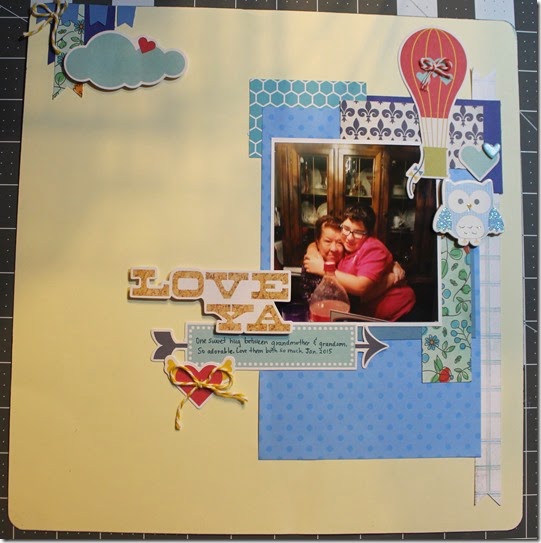
Next, my Mom and son loving on each other.  I used up a bunch of paper scraps for this one.  Smilelove ya IMG_1656
And my other brother’s birthday this year!  LOVE that
he’s 50 already and I get to tease him about that.  Winking smile
over the hill
Sometimes I get out of work early enough on Fridays to have dinner and a movie with my sister.  Gotta love Joe’s Crab Shack and the silly things they write on the bibs!  My sister is Hot Legs and I’m Queen Crab, lol!
share your crabs
 
Finally, our pup Frankie and one of our cats, Blue, hanging out together.  Sometimes I’m not sure if our cats act like dogs or if our dog acts like a cat!  Either way, they all love each other a whole lot and I love capturing that. 
sweet brothers
Thank you for stopping by and leaving love! 
Blessings, M


Saturday, April 26, 2014

Card making


Hello there my crafty friends! I have recently been quite obsessed with Spellbinders dies and I may have bought one or two sets… and I’ve been collecting Technique Tuesday dies and their Ali Edwards stamps too…. and yesterday I took a day off from work so naturally I stayed in my PJ’s all day (ALLLLLLLLL DAY!!!!! :) ) and crafted! 

I had to get the hang of some of the Spellbinders dies.  Look at this little lady I stamped.  It’s a Unity stamp and I used Copics to color her in… and I very unsuccessfully tried to use a Spellbinders die to cut a shape around her.  :(


IMG_0546

I messed with the dies, added a shim, added a different shim, changed around the plates, looked at the Spellbinders website and their videos, checked out YouTube videos, and finally just called the company.  Guess what:  If the packaging says “INSET” next to the size of the die that means it DOES NOT CUT. It embosses, debosses, stencils, and letterpresses, but it does not cut.  It is to be used in conjunction with one of their Nestabilities sets, like so:

IMG_0547IMG_0548IMG_0551

The die on the left is the Nestability die; the one on the right with all the hearts is an “inset” die, and it’s one of their new “Imperial Gold” collections.  I’m SO GLAD I got both sets!!!!!  O.o    Here’s the original die I was trying to use around my stamped girl.  This time I ran the embossing die first and then the cutting one after.  MUCH better result. 

IMG_0555

I keep my dies in these nifty ArtBin containers.  The sheets are magnetic and oh-so-handy.  The container comes with three magnetic sheets and you can buy more sheets in packs of three; although you can probably fit about 21 sheets IN the container it will weigh far too much at that point… 15 sheets per container (if full with dies) is a good limit.

.

IMG_0556


And here is my finished card. From the original (the first picture of this post), I just hand-cut around the girl to get rid of the horrible edge that I had ruined.  Then I die-cut the actual frame, pop-dotting between the two, and finished it off with a Stampin’ Up! phrase—and I used the hearts from the other frame that I cut out. 

IMG_0557

Just a little bit of dimension:  :)

IMG_0560

Then, since I had that SU! stamp set out for my phrase, I decided to get out the matching hexagon punch and make another quickie card. 

IMG_0561

Pigment ink wins again!  Here, I used CTMH inks with the SU! stamps—because my SU! inks are all in storage.  On the left is the pigment, on the right is dye.  I just love the pigment coverage WAY more, even with the image stamping in the center where it’s not supposed to. 

IMG_0562

Here’s the finished card.  I used the same MME patterned paper from the card above, CTMH inks, the embossing of the white background is the CTMH quatrefoil embossing folder, and of course the stamps are SU!, as well as the ribbon.  The bitty pearls are CTMH.

IMG_0563

IMG_0564

Not to be outdone, I had to play with some Technique Tuesday dies too.  :)


IMG_0565

Unfortunately, this card didn’t turn out as I had envisioned it in my head.  I think the colors are all wrong, or I shouldn’t have used black.  Oh well—I’ll try again with these dies another day.  Smile I did stamp “happy birthday” on the inside of the card, and the embossing folder for my base is SU!. 

IMG_0566

That’s it for now!  I’m going to a crop tonight and plan on working on some CTMH projects, so stay tuned for that. 

In other news, I have a major project coming up at work and if I do well then some big, huge, wonderful doors will be opening up for me, lots of professional opportunities.  Please pray for me to do well and for those opportunities to become available!  As always, please pray for His will to be done, not mine, that I go where He wants and that I do what He wants.  ;)  Thank you!!!


Blessings,

Martha 

Friday, April 11, 2014

A couple more to share!

 
I have a couple more layouts that I can share with ya!
 
cute cute cute 2

This LO features an old Basic Grey line, some K&Co white bling, a Wilton
doily (yes it’s meant for cupcakes or treats but I repurposed…I just
hope it’s acid free!), and I used my CTMH stitch guide for the stitches
 on the top left corner.  <3 my cute parents!

cute cute cute 
sweetheart


This paper is from a stack, probably DCWV.  The inked chipboard that has
my journaling is CTMH, and the cream roses are CTMH too. 
Flower is Prima, bling is ?... these are things that I had in a "must use now" basket.  :) 
The picture is of my brother and his very lovely lady.  :D

sweetheart 2

And that is it for now.  I hope to have some time to craft this weekend
and if so I'll be back posting and sharing what I make with you. 

Have a blessed day!

Martha

Sunday, April 6, 2014

Layout share!

  Have you missed me?  :D  I hope so, though I have a fantastic reason for not posting as much as I used to:  I got a real job!  The last one was play time; this is for real and I.LOVE.IT!!!  :D  I've never been happier in my life.  Grateful for my job, my family, all of my innumerable blessings... truly I am blessed. But I digress!  All that working & family time keeps me from crafting and that is A-OK with me!  When I do get a chance to create it's a real treat.  So far I've made four pillow cases for my boy because I LOVE to sew! And last weekend I got a chance to scrap.  Here are a few pages I've made.


siblings


siblings 2


That’s some K&Co bling on the left, and Queen & Co bling on the prima flowers.  That adorable little heart was plain chipboard that I colored with some CTMH alcohol markers and then finished off with Stickles.  Doily is SU! and so is the stamp and die for the stamp.  Next is a pretty simple page using some Cocoa Daisy PP for the background and CTMH stamps.  Stickers are likely Echo Park (I don’t remember!) and the “document real life” card is Project Life.


  grumpy pants


Finally, some old Basic Grey, chipboard, and Technique Tuesday (Ali Edwards) stamp (the “heart this”).  It’s a simple page but I love it.


pizza treat


Until next time, thanks for stopping by and leaving love!  


Blessings, Martha


Sunday, March 9, 2014

Stamping!

Have you seen the current Stamp of the Month? It's super cute! I made one card for a very special young lady:

Monday, February 17, 2014

LO share

 
Stopping by to share!  This first one uses an old CTMH line
of papers and stickers, along with a cut from one of the CTMH
Cricut cartridges (the beige mat under the photo). 


This next one uses Simple Stories though I can't remember if it's
Daily Grind or 24/7.... it's from a boatload of papers & goodies that
my bestie sent me last year! 
 
 
The bottom two drawings on this layout are actually pictures that I took
of one of Nick's book covers, from his school books.  The book fell out of his
backpack and I thought his little story was too funny and way
cute.  It *had* to be documented.  ;-) 
 
 
I also used up some Elle's Studio wood veneers and Thickers for the title.
 
Thanks for stopping by and leaving love!
 
Blessings,
Martha

Wednesday, February 12, 2014

Ink matters!

I recently got CTMH's Timberline Workshop on the Go.  It has a great
stamp set and I think it's perfect for our bike-riding pictures.  My sister
has taken my kiddo up to Enchanted Rock a couple of times and I'd like
to go myself, go for a nice hike and enjoy nature.  Of course, I don't want
to go on that little day trip just because I have this paper... it's just an added
bonus that I already have the layouts completed for any pictures I might take!
 
So-- about the ink.  The Timberline WOTG stamp set has a couple of
images that are larger.  I stamped them with dye ink... and didn't like
the outcome.  I have some of the CTMH pigment ink and thought
why not give this a whirl.  The results are interesting!
 
 
Above, Goldrush dye ink.  Below, Goldrush pigment ink. 
See how the negative space is properly stamped
without looking grainy or washed out?


This is the stamp AFTER I stamped it.  See how the letters are full of ink? 
I was sure this ink would have gone onto my paper but it did not!  Note:  To clean
this stamp properly you should spray your liquid cleaner directly onto the stamp
before running it across a scrubber.  Baby wipes work well too-- just
make sure they're alcohol free as alcohol with cause the stamp to crack.
 
 
Here's another example.  Left side is pigment, right side is dye ink. 
The clarity of the letters and lines along the border is pretty remarkable!  You're
supposed to lay your paper on that foam insert that comes with your stamps,
which is what these two stamped images is resting on.  But that didn't matter
when stamping with the dye ink, not for this stamp.  The surface I stamped
on, the amount of pressure I applied, the amount of ink I had applied to the
stamp, nothing I did would make this stamp with perfect clarity... until I
got out the pigment ink and got it right on the first try. 


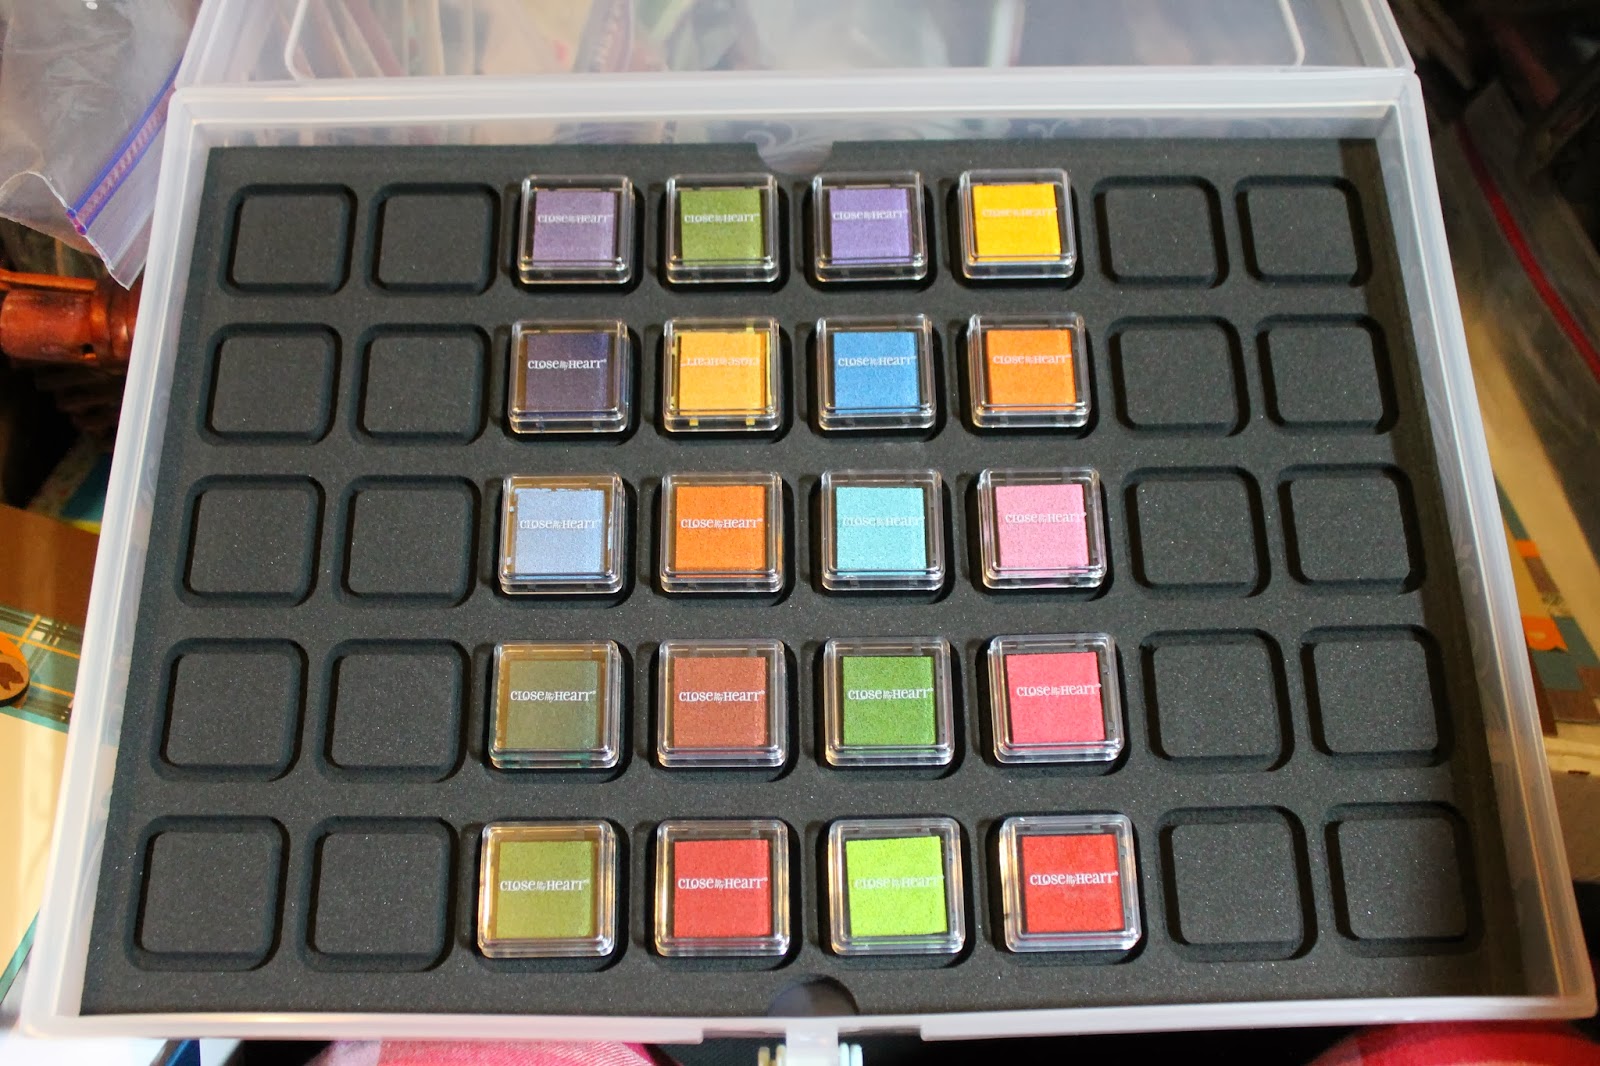
CTMH sells the pigment inks in color families, of which there are four. 
So for around $20 you get 10 of these little pigment inks in matching colors;
add the foam insert and plastic organizer for a bit more moolah and you're all set!
You can see that I only have two of the four sets.  ;-)
 
 
It's the smaller organizer that these fit into. 
 
 
And the layouts I used those stamped images for are the following pictures. 
On this next pic, though, you see my "making tracks" that's stamped with
pigment.  The "you are here" is stamped with dye.  These don't look
very different; I think it's because "you are here" is a smaller stamp with
not as much dead space that needs ink coverage. 


Here is the full two-page layout. 


And the other two-page layout (this is the one whose instructions are part
of the Workshop; the layout above was made with instructions found at CTMH.com): 
 

"Explore Your World" is my title and this is where I first discovered how much
better the pigment ink worked.  Now I just have to work on CENTERING
my images (onto the previously die-cut shape).  :-)
 
 
That little Earth and the little people around it?  Those are stamps included in
the set.  Is that not adorable!!!  I have card ideas with that little Earth stamp in mind...
 
 
The top right colonial white square with footprints is where
I will draw lines to add my journaling later. 


 So there you have it!  Dye versus pigment ink with CTMH stamps.  I
was also playing with some Technique Tuesday stamps, which are made
of different material than the CTMH sets, and the pigment was LOADS
better with those as well.  Just remember, too, that when using pigment
ink your stamped image will take longer to dry.  Don't just grab it, glue
 it, and go because it will SMEAR!  Let it dry for a little bit. 
Trust me on this one.  ;-)

Thanks for stopping by and leaving love!  And stay tuned for some
masculine cards I'm going to make with the leftover
paper from this workshop set. 

Blessings,
Martha